
So, you've just signed up, what's next? These instructions are for e-commerce platforms like Shopify, Big Commerce, Prestashop, WooCommerce & some custom solutions.
SHOPIFY STOREFRONT 2.0 USERS
If you are using a Shopify theme that support Storefront 2.0 you can access the setup guide here.
STEP ONE - CONNECT INSTAGRAM
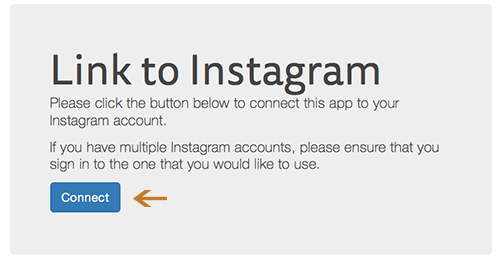
You can do so by heading over to your Like2Have.it dashboard, you'll see a large area in grey asking you to Link to Instagram.
* Few things to remember :
- Using the same browser make sure you logged out of your personal Instagram Account and signed into your business account.
- In that same browser you can then connect to Instagram on the Like2Have.it dashboard by clicking on the blue Connect button.
Hurray! Step one accomplished! Now you head over to your PHOTOS section (located in the top menu of the Like2Have.it dashboard) and take a look at the photos we've imported from your account.
STEP TWO - CONNECT YOUR E-COMMERCE STORE
Connecting to an e-commerce store isn't mandatory. You can also copy/paste URLs and titles in order to create shoppable links or links to just about anywhere - affiliate sites, blog articles, contest pages etc. The reason we offer this integration is it makes creating links to your product URL so much faster.
From your Like2Have.it Dashboard click on the link for Manage Store Integrations located under My Account. From here you can select your e-commerce store to connect - some store integrations can have more steps than others.
* If you installed Like2Have.it via Shopify and authorized, then the connection is automatic.
If you don't see your e-commerce store listed, please email us at support@like2have.it
-OR-
If you are having difficulties with the connection, emails us at support@like2have.it and we'd be happy to help.
Another step checked off. Way to Go!
STEP THREE - START TAGGING PHOTOS
Now, this is where the magic happens as you start building your shoppable gallery.
On the Like2Have.it dashboard, head on over to PHOTOS located in the top menu. From here, you will see all your photos imported from Instagram. Find a photo you want to display on your feed and click on it. A larger photo should appear.
Click on a product you'd like to label and you'll see a search box pop open. In the top field you can start typing in a keyword for that product, you'll notice that options will start to appear below. Simply find the product that is the correct one and select it. Don't forget to save.
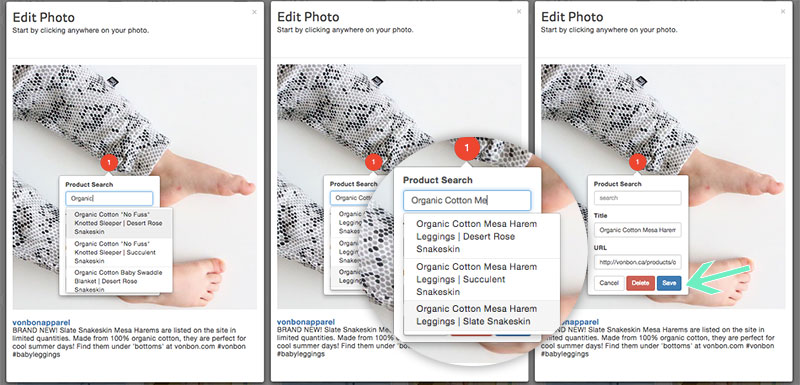
Well that was easy. Now you can go ahead and repeat with tagging another product on the same photo or close this window to start adding product tags to a different photo.
* REMEMBER - You can still enter product URLs and Titles manually by bypassing the product search and entering the Title and URL only. This is especially helpful to those who do not have an e-commerce store Integration.
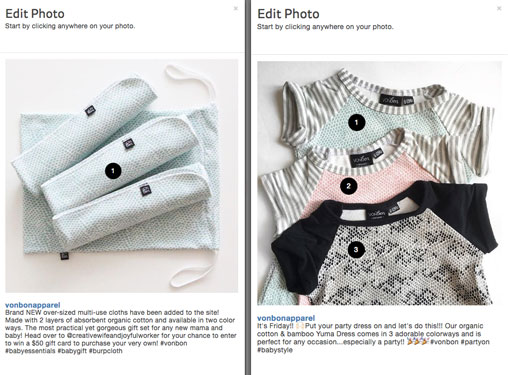
You can add one product link or many, it's up to you and the photo you are tagging.
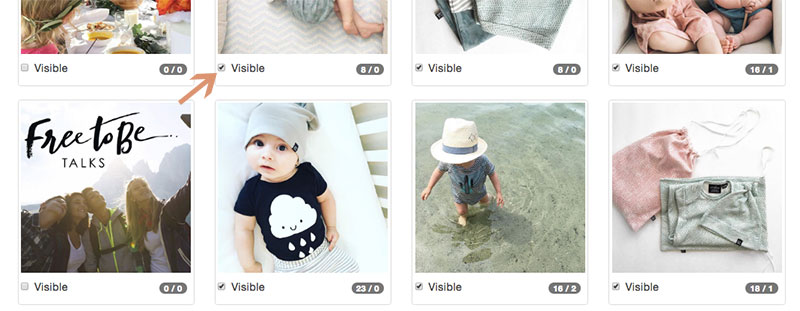
IMPORTANT: After you tag your products in each photo make sure you check the "Visible" box. This is to control the photos you want to show up on your feed.
STEP FOUR - DESIGN
For our Hosted Gallery - which is your Shoppable Gallery URL located on your Like2Have.it dashboard - head over to the Gallery Design area from the dashboard. You can change the default logo to yours and add your store URL as well as meta description and a browser Page title.
* ADVANCED USERS: Click on the Advanced Options to open up the ability to add custom CSS and HTML to your page header and footer.
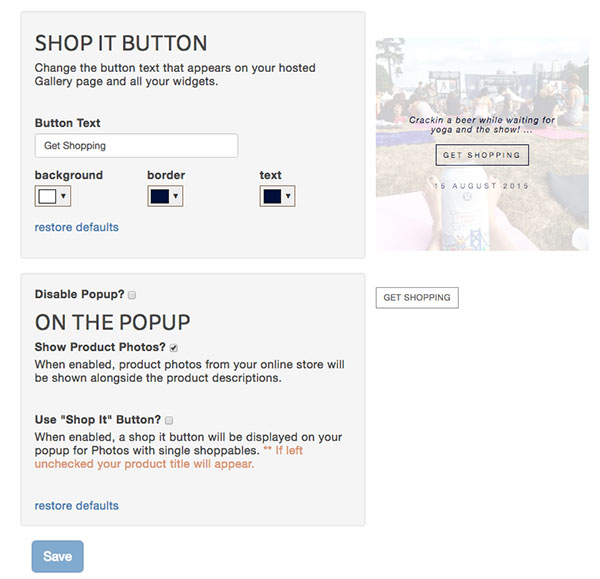
For some other Design features head over to the Shop It Button located as a link on the Dashboard. From here you can effect some colour changes, the text on the button, style of popup with product photos or only text or perhaps you don't want a popup at all.
If you make a mistake, don't worry. We've got restore to default buttons and help is just an email away - support@like2have.it
That's lookin' pretty stylish!
STEP FIVE - SHOW OFF YOUR SHOPPABLE GALLERIES
Now that the building is done, let's move on to promoting your Shoppable Instagram Gallery.
SHOPIFY STOREFRONT 2.0 USERS
If you are using a Shopify theme that support Storefront 2.0 you can access the setup guide here.
Embed a Gallery on your Website. We've got a few different styles to choose from that will fit any occasion. Just head over to the Pick Your Feed Widget on the Dashboard and choose the style of widget you'd like to embed on your page. We provide the <script> code for you to copy and paste into your templates and we offer full installation support should you feel uncomfortable to do it yourself. Simply email us at support@like2have.it
Choose from:
- the Gallery Widget (the full gallery with Load More Button).
- the Grid Widget (scales like a table),
- the Loof Widget (an Instagram inspired carousel),
- the Patchwork Widget (mosaic of large & small photos),
- the Personalized Widget (scales like a table),
- the Scrollable Widget (left and right infinite scroll), or
- the Stacking Grid Widget (photos retain a minimum size and stack instead of scale)
So many options...I wonder what you'll choose?
PHEW! You're done, you've #nailedit, go on and pat yourself on the back because you deserve it. Don't forget if you have any questions or would like some assistance with any part of the setup/installation we are here to help, just email us at:
0 Comments